Media
Guide to Media
Adding (uploading ) Media
There are multiple ways to upload Media (images, PDFs, videos) to the site, as well as multiple ways to view and add the media already on the site to a page. We've listed two of each below to help you get started.
• Adding (uploading) media via the top nav—the only way to add remote video
• Adding media (only images and PDFs) via the WYSIWYG text editor
Video Guide to Uploading (Adding) Media (a Remote Video) via the Top Nav
Uploading Media via the top nav
-
In the top navigation bar, hover over "Content"
-
Navigate down and hover over "Media"
-
Hover over "Add Media" and click on the type of media you would like to add
In this example, we're adding an image
-
Enter a name, add the file to upload, and include the Alternative text
Image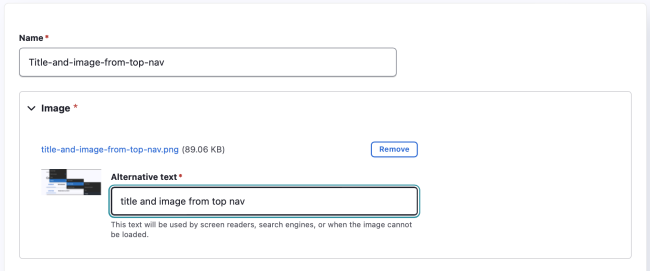
When naming images, you should:
- Use hypens to separate words
- Use lowercase
- Use a word of what the photo is, along with a description if you have multiple photos in a gallery of similar images
- For example, "alcatraz-island-aerial.jpg" is a better photo name than "554488.jpg"
For Alternative text, be as concise and descriptive as possible.
Bad: Alt text = " "
Better: Alt text = "Puppy"
Best: Alt text = "Dalmatian puppy playing fetch" -
Click "Save"
Image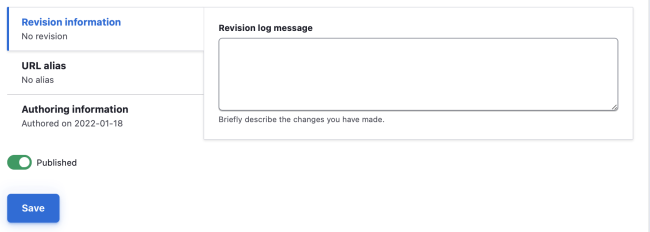
Video Guide to Adding Media via Text Editor
You can also add media via text editor (WYSIWYG).
-
Adding Media via Text Editor
-
Navigate to a page where the full WYSIWYG text editor is available
-
Click the Media Library icon
-
Enter a name, add the file to upload, and include the Alternative text
-
Click a Save button
Accessing the Media Library Via Top Nav
-
In the top navigation bar, hover over "Content"
-
Hover over "Media" and click on "Media Library"
-
Media that has previously been uploaded to the site is now accessible.
You have now landed on the Media Library page where you can search and filter the list to manage your media items (files, images, snippets, etc.)